Siento si estas semanas estoy algo desaparecida, pero es que no paro quieta. Entre las clases de francés, las oposiciones, el voluntariado, las clases particulares a los peques...buf! Y además estoy contentísima porque, no sé si algunas lo habréis leído en Twitter, pero...¡Me han cogido en El Corte Inglés!
Así que tengo poquito tiempo libre...pero intentaré publicaros algo siempre que puedo.
Hi everyone!
I"m so sorry for not to be hereabout as much as before, but these days I can"t stop! I have french lessons, the test to be a public teacher, the volunteer group, the private lessons to childrens...buf! Besides, I"m very happy, because, as maybe you have read on Twitter, I"ve been hired by El Corte Inglés!
So I have little free time...but I"ll try to public something as much as I can.
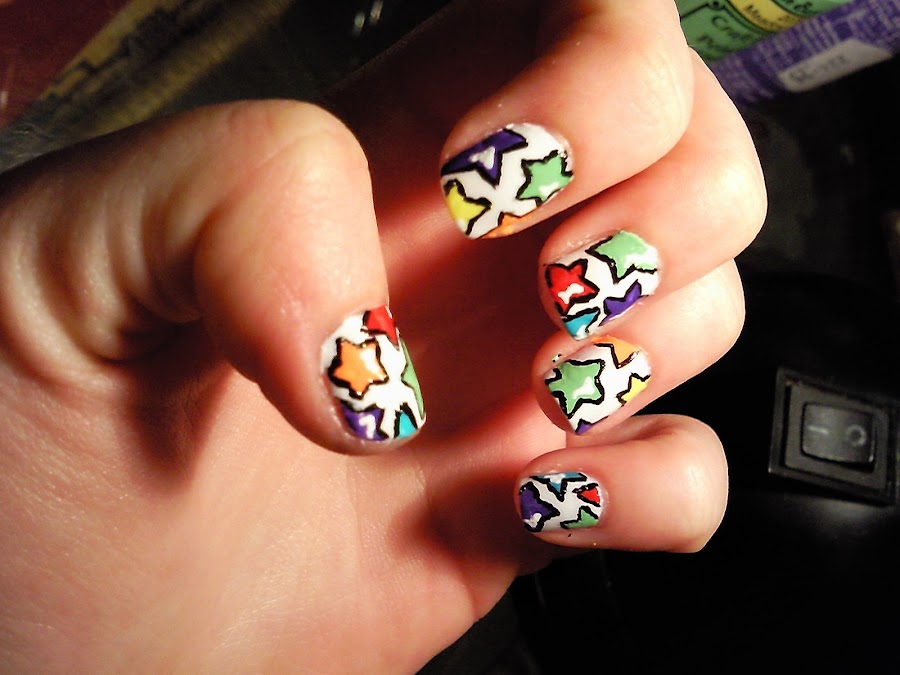
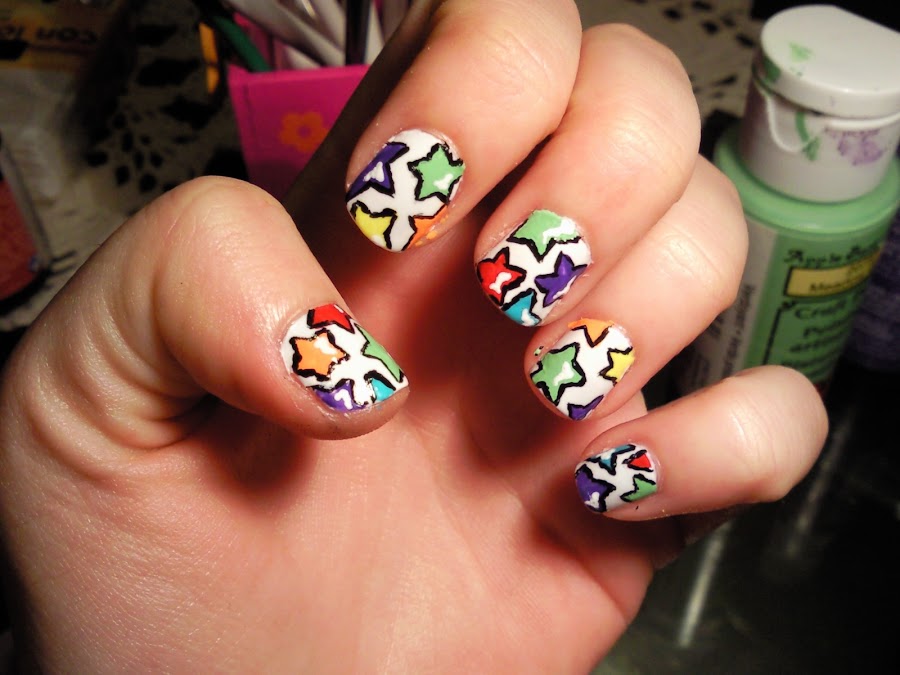
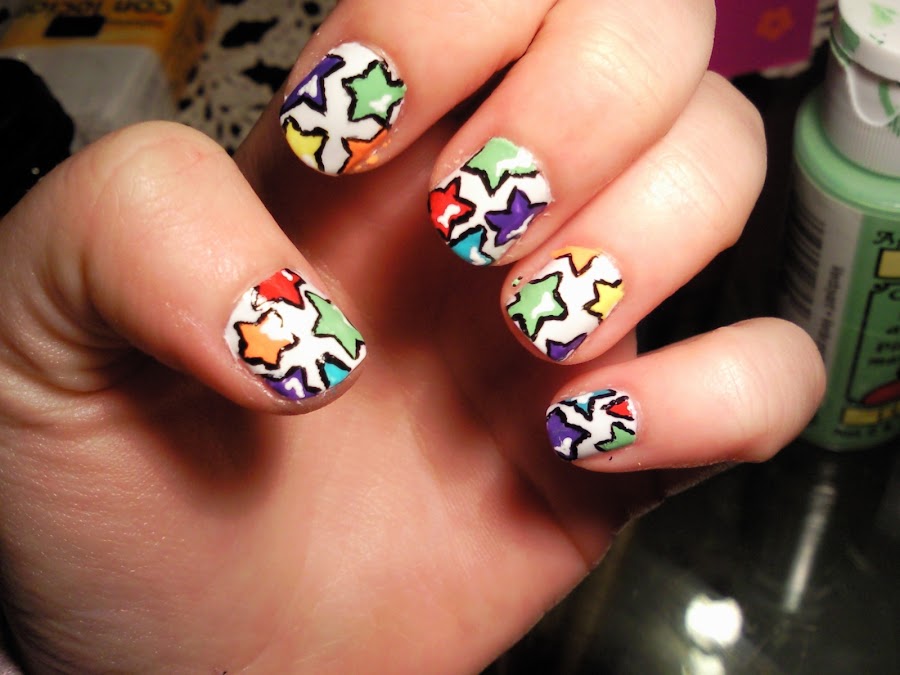
Bueno, hoy os traigo una manicura muy colorida y divertida, con estrellas de colores, sobre un fondo blanco. Vamos a necesitar:
- Unos cuantos colores, a vuestra elección. En este caso rojo, verde, azul, amarillo, naranja y violeta.
- Color blanco y negro.
- Un pincel con el que puedas pintar con precisión.
Well, today I want to show you a very funny and colorful manicure, with stars and a white bottom. We need...
- Some colors, whatever you choose. In this case red, green, blue, yellow, orange and purple.
- White and black polish.
- A very precise brush.
Empezamos dando un par de capas de esmalte blanco.
Start applying two white coats.
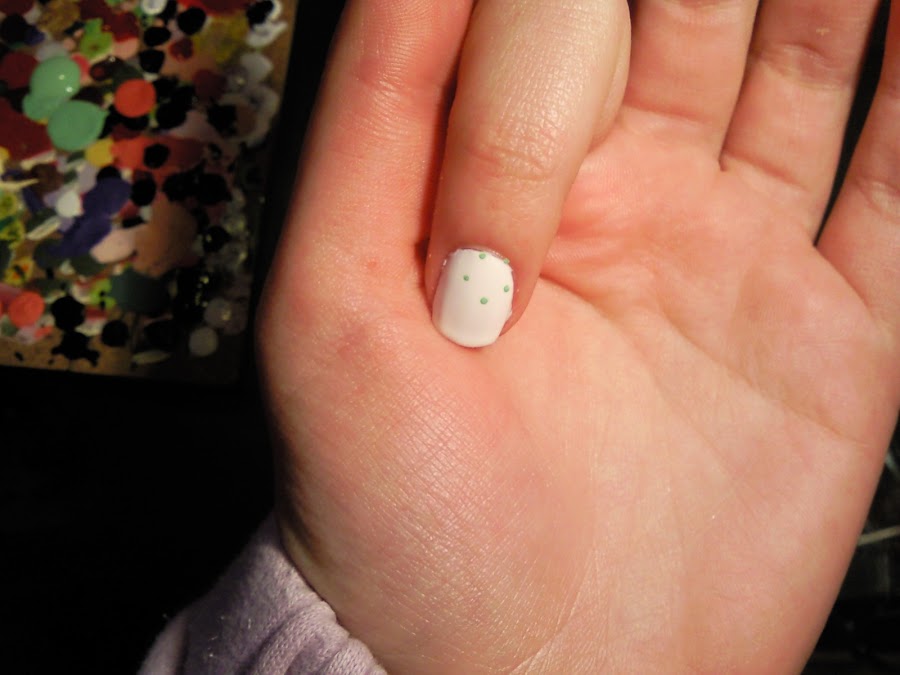
Y, una a una, vamos haciendo las estrellas. Podemos seguir un patrón muy sencillo. Primero hacemos cinco puntos que serán las puntas de la estrella. (Puede ver este proceso también en la manicura de glitter y estrellas moradas)
And, one by one, we make the stars. You can do it following a easy steps. First, make five dots: the stars tips. (You also can see this process in the glitter and purple stars manicure)
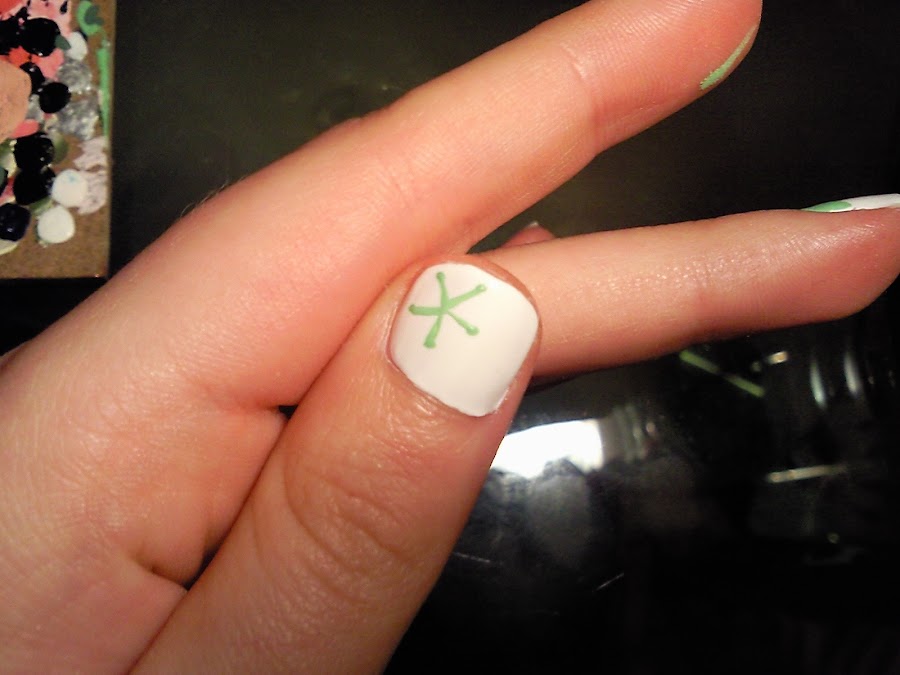
Luego, unimos los puntos en el centro, mediante líneas.
The, link the dots at the center, using lines.
Finalmente, engordamos las líneas por los lados para darle la forma a la estrella.
Finally, fill out the lines to shape the star.
Continúa con las demás estrellas con el mismo proceso. Si os fijáis, he redondeado un poco los bordes de las estrellas,para que queden más graciosas.
Continue in the same way with the rest of stars. You see how I rounded the tips in order to give a funnier look to the star?
Ahora viene la parte más complicada: una a una, vamos perfilando con negro las estrellas.
Now, the hardest part: one by one, outline the stars with black.
Podéis dejar así el diseño, pero yo he querido darle un toque final, poniendo un poco de blanco en un lado de cada estrella, para darle "brillo". Pero bueno, esto es opcional.
You can leave the desing like this, but I"ve choosen a final touch, applying a little bit of white on the side of the stars, to give them "shine". But this os optional.
Finalmente, añadimos el top coat y acabamos el diseño.
And the last step is to apply a top coat.
¿Qué tal? Admito que no es mi mejor diseño en cuanto al acabado de los bordes, pero creo que os he transmitido la idea principal, que os puede servir de inspiración.
¡Ojalá os guste!
¡Un beso!
What do you think? I admit that this is not my best desing regarding the finish, but Ithink that I gave you the main idea, which ou can use like inspiration.
I hope you like it!
See you!


