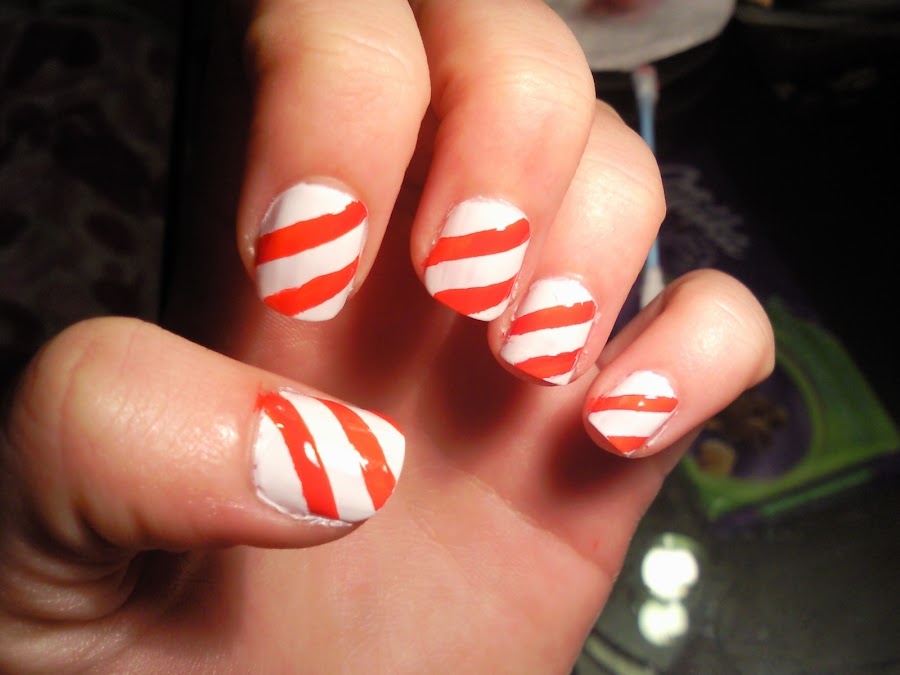
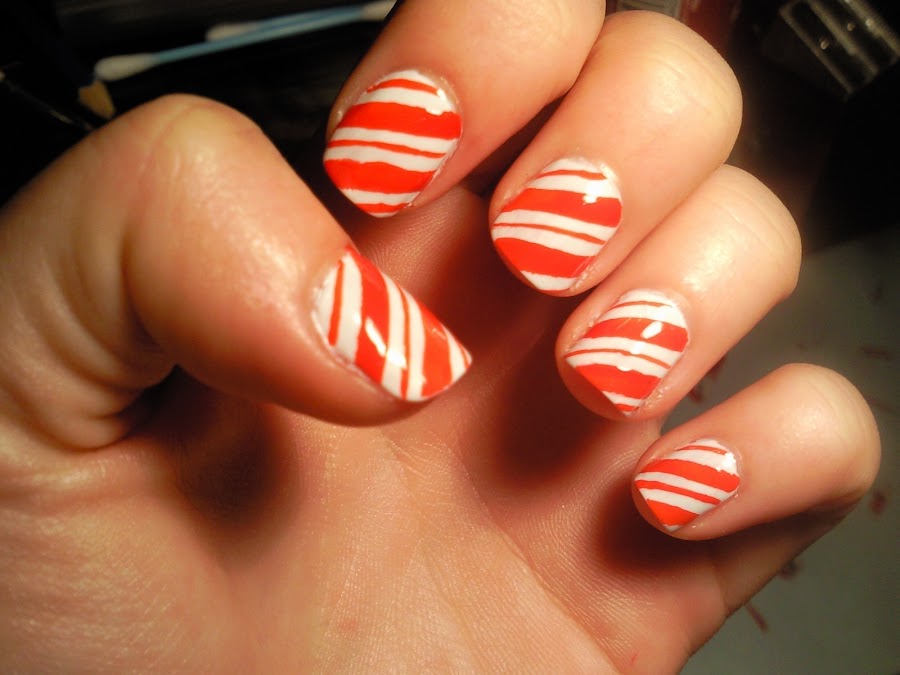
Hi everyone! Today, in this tutorial I want to show you how to a candy cane inspired manicure. To do it, I"m going to use handmade stickers, such as that I used in the flowers and navy print manicure. So, I will tell you how was going on this second experience, and some pieces of advice.
Esta vez usaremos:
Para las tiras adhesivas:
- Papel adhesivo.
- Una regla.
- Un lápiz.
- Tijeras.
Para la manicura:
- Un pincel fino para hacer líneas.
- Esmaltes rojo y blanco.
This time, we need:
For the handmade stickers:
- Sticker paper.
- A rule.
- A pencil.
- Scissors.
For the manicure:
- A liner brush.
- Red and white polish.
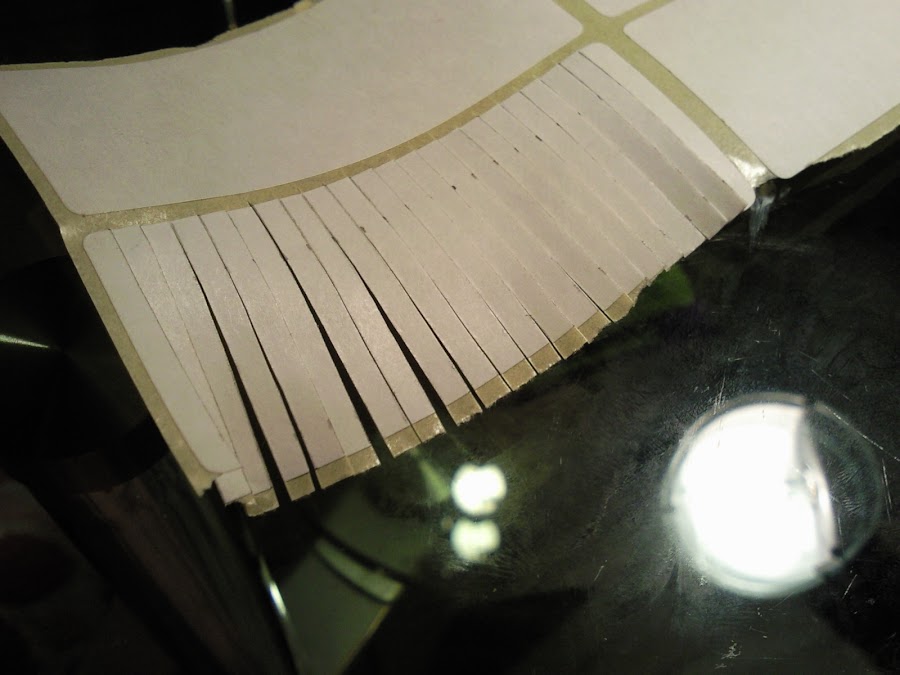
Comenzamos creando las tiras adhesivas. Puedes usar las que ya vienen preparadas para la manicura francesa, pero si las creas tú puedes darle el ancho y la forma que desees.
Con la regla y el lápiz vamos dividiando el papel a nuestro gusto.
Start creating the stickers. You can use the french manicure ones, but in this way you can make them with any form and size.
Use the pencil and the rule to draw the lines.
Luego recortamos las tiras.
Then, cut them.
Y ahora ya podemos usarlas para cualquier manicura. Para esta, antes vamos a aplicar dos o tres capas de esmalte blanco.
(Consejo 1: deja que el esmalte esté muy bien secado, o al usar las tiras puede estropearse)
Now, we are ready to use the stickers. This time, apply two or three coats of white polish before.
(Tip 1: let the polish dry properly, otherwise, the sticker can ruin it)
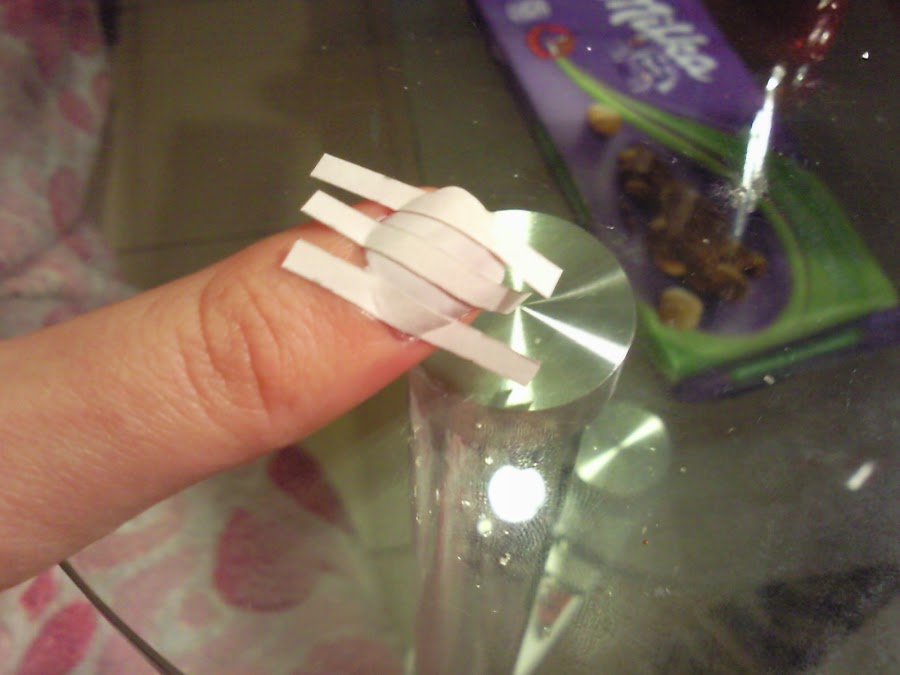
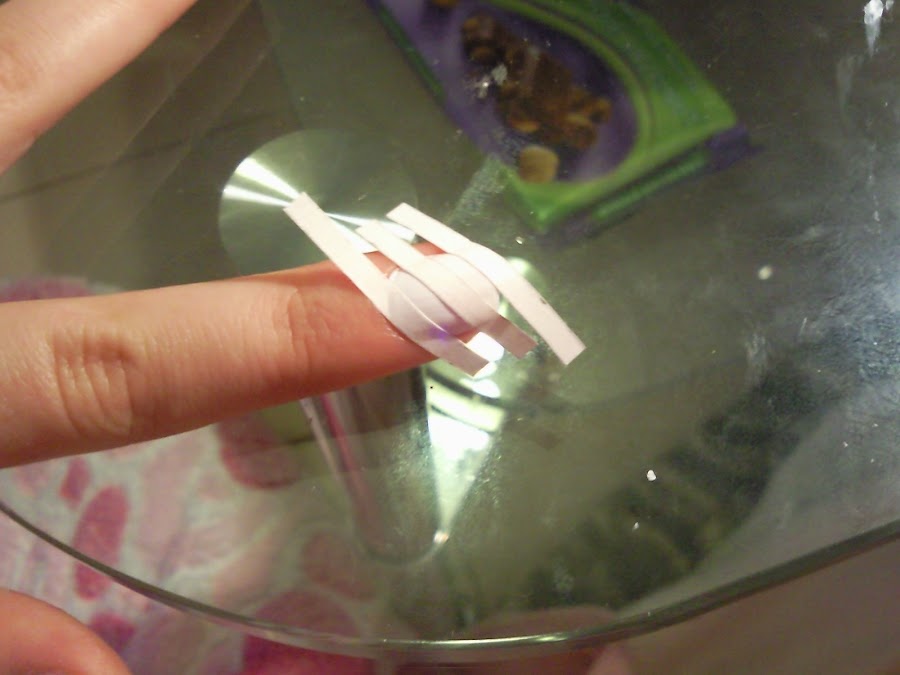
Ahora sí, pegamos las tiras, en forma diagonal, dejando espacios entre ellas.
(Consejo 2: Asegúrate de pegar bien los bordes de la uña y la zona entre ésta y la piel, para que no se cuele el esmalte.)
So, stick the papers diagonally, keeping some space between them.
(Tip 2: Make sure to stick the borders of the nail nicely)
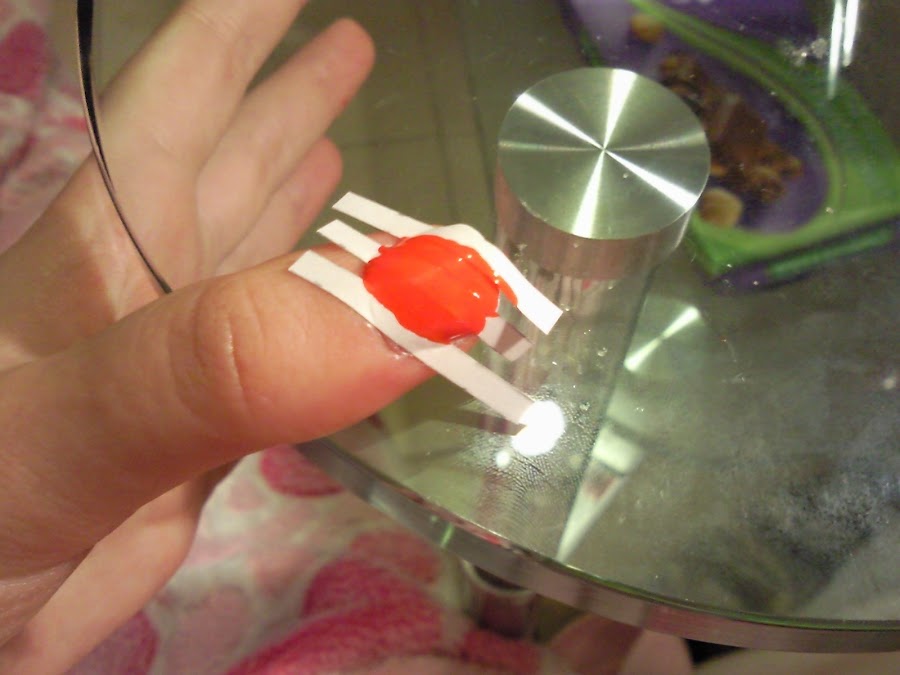
Pintamos con esmalte rojo por encima de las tiras.
Paint with red on the stickers.
Tras esto, y sin dejar que el esmalte se seque, despegamos las tiras una a una.
(Consejo 3: debes tirar de las pegatinas muy despacio y con suavidad, para no despegar el esmalte que hay debajo)
Next, don"t let the red polish dry, and remove the sticker one by one.
(Tip 3: You have to remove them slowly and softly, in order to not remove the polish underneath)
Tras esto, vamos a hacer otras líneas más finas entre las que ya hemos hecho. Para eso usaremos un pincel fino.
(Consejo 4: te costará mucho menos hacer líneas si, en vez de desplazar el pincel, lo mantienes fijo mientras giras la uña.)
Afterwards, use the liner brush to make thiner lines.
(Tip 4: It is easier to keep the brush still and turn the nail, instead of move the brush)
Finalmente aplicamos un top coat y tenemos este bonito diseño:
Finally, apply a top coat to get this pretty desing.
Y aquí acabamos la entrada de hoy chicas. ¡Un beso a todas!
This is the end of this tutorial. Kisses a lot!


